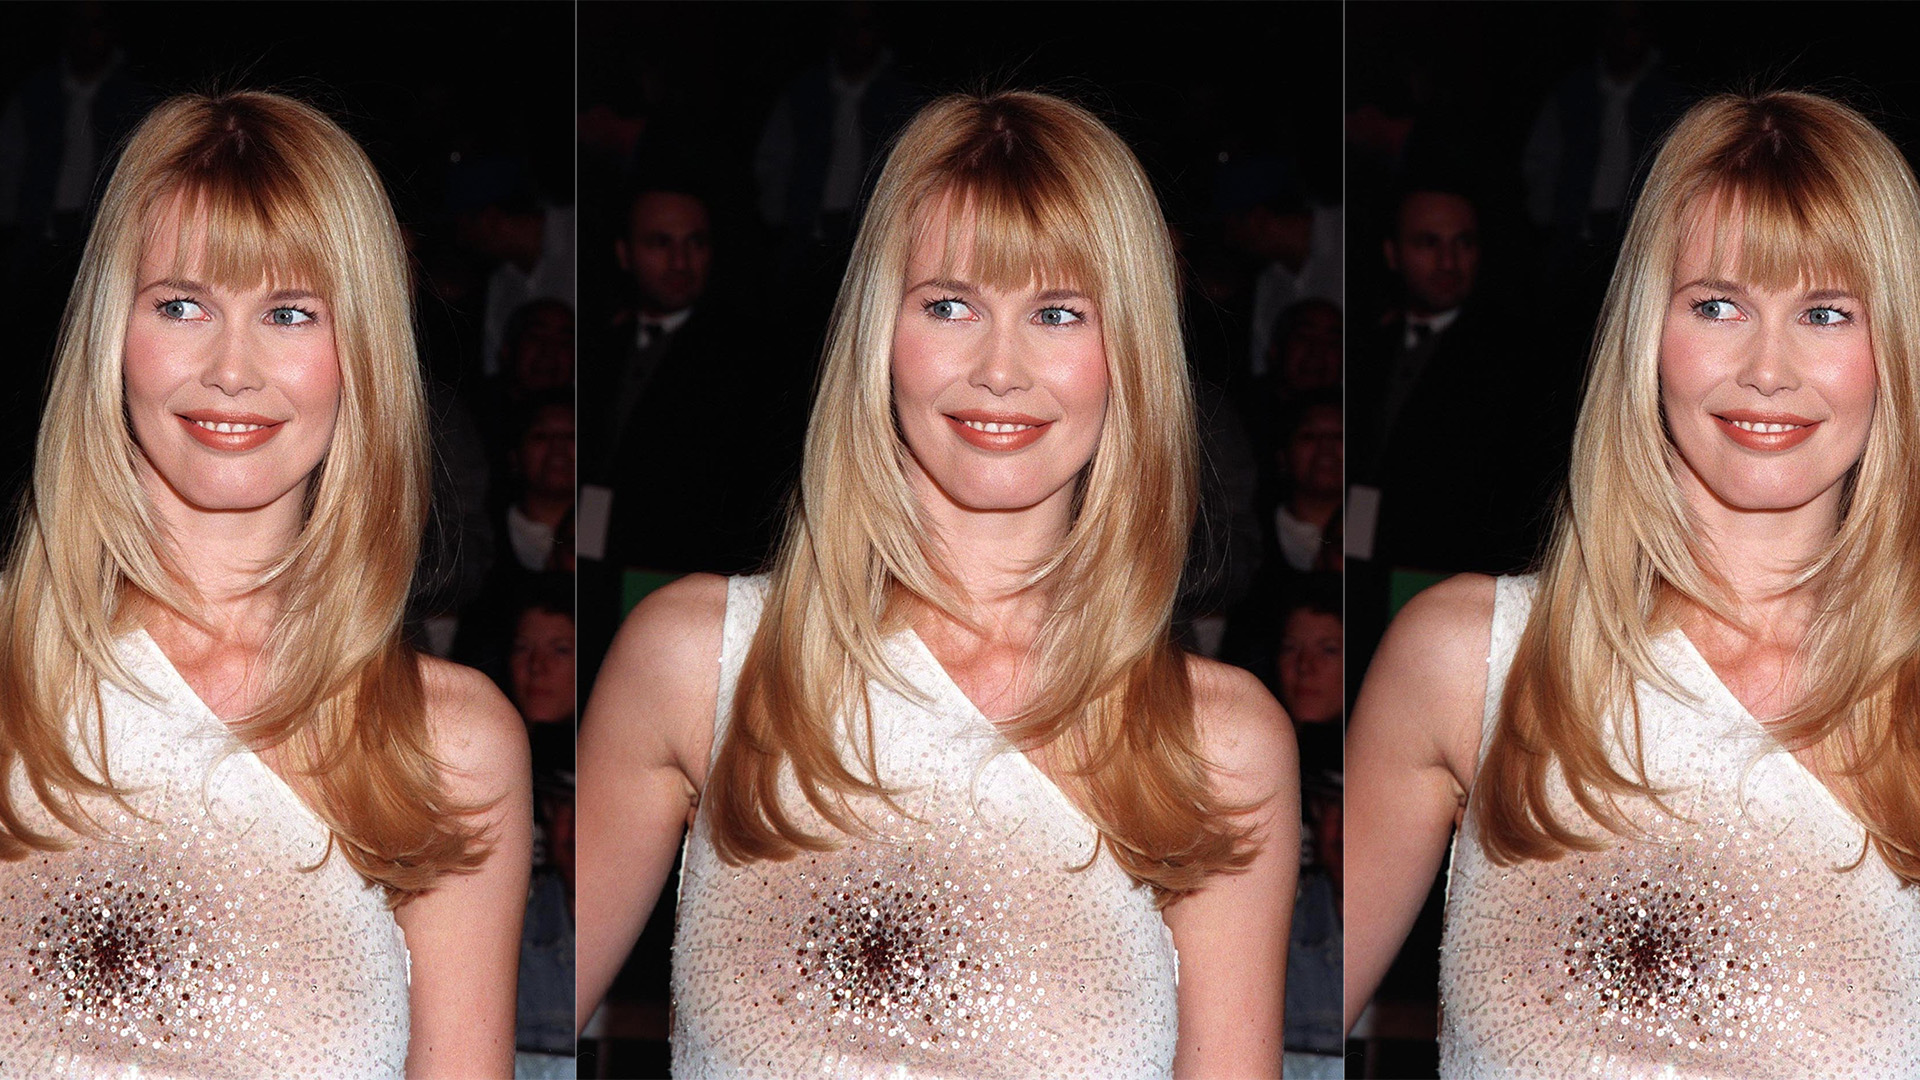
Big, bouncy and unapologetically glamorous, the 90s blow-dry continues to influence the way clients want their hair styled. Think lifted roots, sweeping face-framing layers, polished movement and plenty of bounce – inspired by the supermodel blow-dries synonymous with the decade.
Today’s version feels softer and more wearable, with touchable volume rather than an overly set finish. For hairdressers, mastering the look is about more than simply reaching for a large round brush; the right prep, tension, setting technique and product choice all play a part.
Here’s how to create a 90s blow-dry and adapt the technique for different hair types.
What Is a ’90s Blow-Dry?
The 90s blow-dry is characterised by volume at the roots, a smooth, polished finish and plenty of movement through the lengths and ends. Face-framing layers are typically styled away from the face, while ends can be curved under or flicked out depending on the desired result.
For a contemporary take, Peter Mellon, UK Style Ambassador for Alfa Italia, recommends adding “more face framing, soft and feathery layers that enhance the bounce and flow”.
He also suggests keeping the ends straight or slightly flicked for a fresher finish and choosing dry texturising products over heavier serums to retain that airy, touchable movement.
How to Create a 90s Blow-Dry
1. Start with the right prep
A long-lasting bouncy blow-dry starts with a good foundation. Choose cleansing, conditioning and styling products that complement the client’s hair type without weighing it down.
For clients who need additional body, Victoria Panting recommends creating a volumising base from the shampoo stage, while Rachel Valentine highlights the importance of styling products: “You need a really good setting spray, and a good mousse in the roots.”
Whatever the hair type, ensure heat protection is incorporated before using heated styling tools.
2. Rough-dry and create root lift
Remove excess moisture before working with a round brush. Rough-drying the hair until it is around 80% dry can make the styling process more efficient and allows you to focus on creating shape rather than simply removing water.
Encourage lift at the roots by directing the hair away from its natural fall before beginning your round-brush work.
3. Use your round brush to create shape
Sectioning and tension are essential for achieving the smooth, polished finish associated with a 90s blow-dry.
Lift each section up and away from the scalp with your round brush, directing the hairdryer’s airflow down the hair shaft while creating elevation at the root.
“The size of the brush you use depends on the length of the hair,” explains Gamma+ Ambassador Ross Taylor.
A larger barrel can create expansive movement and a softer curve, while a smaller barrel offers greater control and more defined shape. Pay particular attention to the front sections, directing them away from the face to create that signature sweeping movement.
4. Set and cool the hair
Don’t underestimate the importance of cooling. After blow-drying each section, use the cool-shot setting before wrapping the hair around a large roller or securing it in a barrel curl.
Allow the hair to cool completely in its intended shape before removing the set. This helps preserve the volume and movement you’ve created rather than allowing the hair to immediately fall.
5. Dress out the finished blow-dry
Once the hair has cooled, release each section and use your fingers, a wide-tooth comb or a dressing brush to blend the shape.
Avoid overloading the finished hair with product. A flexible hairspray or lightweight texturising spray can provide hold while keeping the movement soft and touchable.

How to Adapt a 90s Blow-Dry for Different Hair Types
The foundations of the technique remain the same, but prep, brush choice and tension should be adapted to suit the client’s natural texture.
Straight Hair
With naturally straight hair, the challenge is often creating volume that lasts. Start with lightweight volumising products that provide grip without weighing down the hair and focus on building elevation at the roots.
For hair that tends to drop quickly, setting each section while warm and allowing it to cool completely can help maintain the shape.
Ross Taylor also suggests using a micro crimper at the roots where appropriate to create additional volume and longevity before completing the blow-dry.
Wavy Hair
Natural waves can provide a strong foundation for a voluminous blow-dry, but brush size will determine the finished result.
“Choosing the right round brush will determine the final look,” explains Emma Dixon. “Smaller barrels create tighter curls, while larger ones give a soft bouncy wave.”
Once dry, a tong can be used selectively to refine the shape. Allow each curl to cool in its barrel shape before gently brushing through to blend the sections and create a softer finish.
Curly Hair
When creating a 90s blow-dry on curly hair, consider the client’s curl pattern, density and desired finish before choosing your technique.
“The key is to smooth it out while maintaining body and softness,” explains Nicky Clarke.
Use a round brush to stretch and smooth the hair while maintaining movement, adjusting your tension and heat according to the client’s texture. Rollers can then help set the finished shape, while a tong or wand can refine individual sections where necessary.
For the final dress-out, Nicky recommends using “a soft bristle brush to smooth and blend for that effortless ’90s supermodel finish”.
How to Make a 90s Blow-Dry Last Longer
One of the biggest factors in a long-lasting blow-dry is cooling the hair properly. Setting sections while warm and allowing them to cool completely before dressing out can help preserve both root lift and movement.
Product choice also matters. Layer lightweight styling products rather than relying on heavy finishing formulas that could cause the hair to drop.
Peter Mellon also recommends educating clients on maintaining their blow-dry between appointments: “With the right products and touch-ups, a blow-dry can last days – promote blow-dries as a low-maintenance luxury service.”
Clients can be advised to avoid flattening the roots overnight and use appropriate dry styling products sparingly when refreshing their hair.

How to Modernise the 90s Blow-Dry
The difference between a nostalgic recreation and a contemporary 90s-inspired blow-dry is often in the finish.
Rather than creating perfectly uniform curls, aim for soft, blended movement. Face-framing layers can enhance the bounce around the front, while slightly flicked or straighter ends make the look feel less structured.
A soft side part can add instant root lift, while lightweight texturising products help maintain the airy finish. When dressing out, brush through the set so the individual curls blend together into one fluid shape.
The finished result should retain the glamour and bounce associated with the 90s while still feeling effortless enough for today’s client.
Making the 90s Blow-Dry Work as a Salon Service
The appeal of polished, voluminous styling gives salons an opportunity to position the 90s blow-dry as a bookable service rather than something reserved for special occasions.
“To promote this look, create a signature ‘90s Blow-Dry Experience’ that includes styling and retail recommendations and pair the service with a curated product bundle so clients can recreate the look at home,” suggests Victoria Panting.
Social content can also showcase the transformation, technique and longevity of a professional blow-dry, while educating clients on maintaining their volume between appointments.
Combining a strong in-salon result with practical aftercare advice can turn the 90s blow-dry from a trending finish into a valuable addition to the salon styling menu.


square.jpg)
