With Valentine's Day comes a surge of clients visiting the salon over the weekend to achieve their perfect Valentine’s date night hair. From voluminous, bouncy blow-dries to sleek styles with curved ends and power ponytails, it’s all about looks that feel sophisticated yet sexy. Creative Director at MOOD, Tracey Ann Smith, shares three of her favourite Valentine's date night hairstyles and how to achieve them...
Valentine's Day Hairstyles
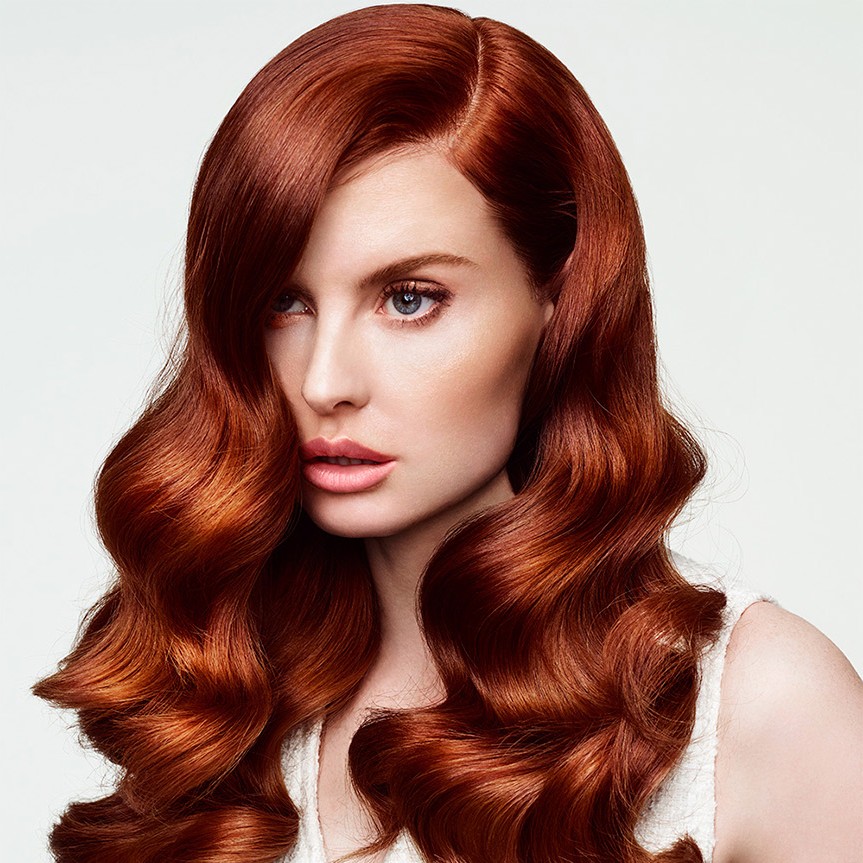
Voluminous, Bouncy Blow-dries
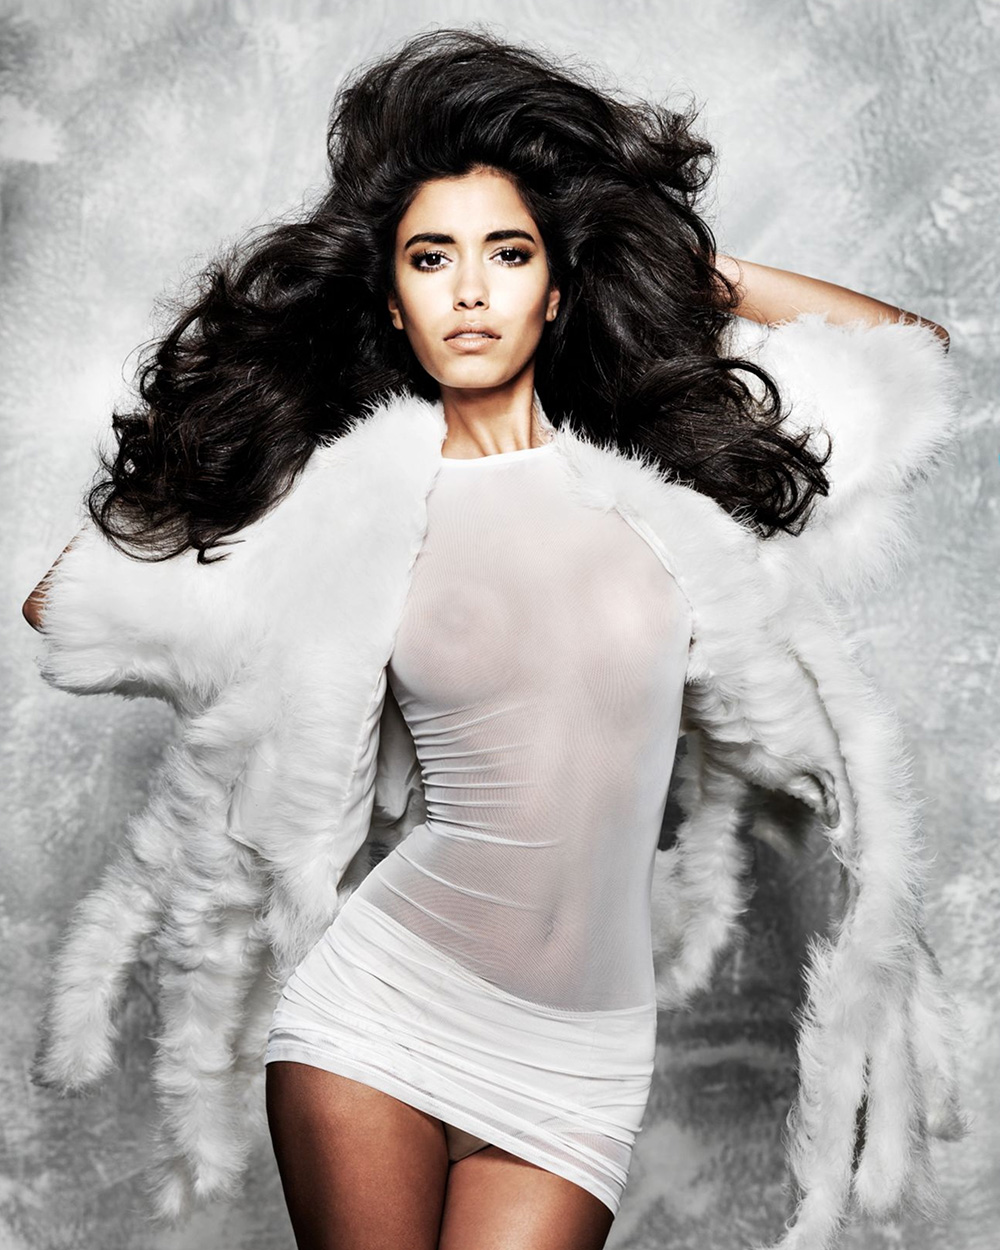
When it comes to creating a voluminous, bouncy blow-dry, how you prep the hair is key. I use a four-step prep routine - the MOOD Body Builder range. Once the hair is prepped, go in with your hairdryer and a round brush to create your bouncy blow-dry, working in sections and pinning the hair into place as you move around the head for added volume and bounce. When you are ready to remove the pins, lightly mist some texturising spray through the hair to give the style extra body, volume, and texture with a flexible hold.
Speaking of Valentine's blow-dries, take a look at this...
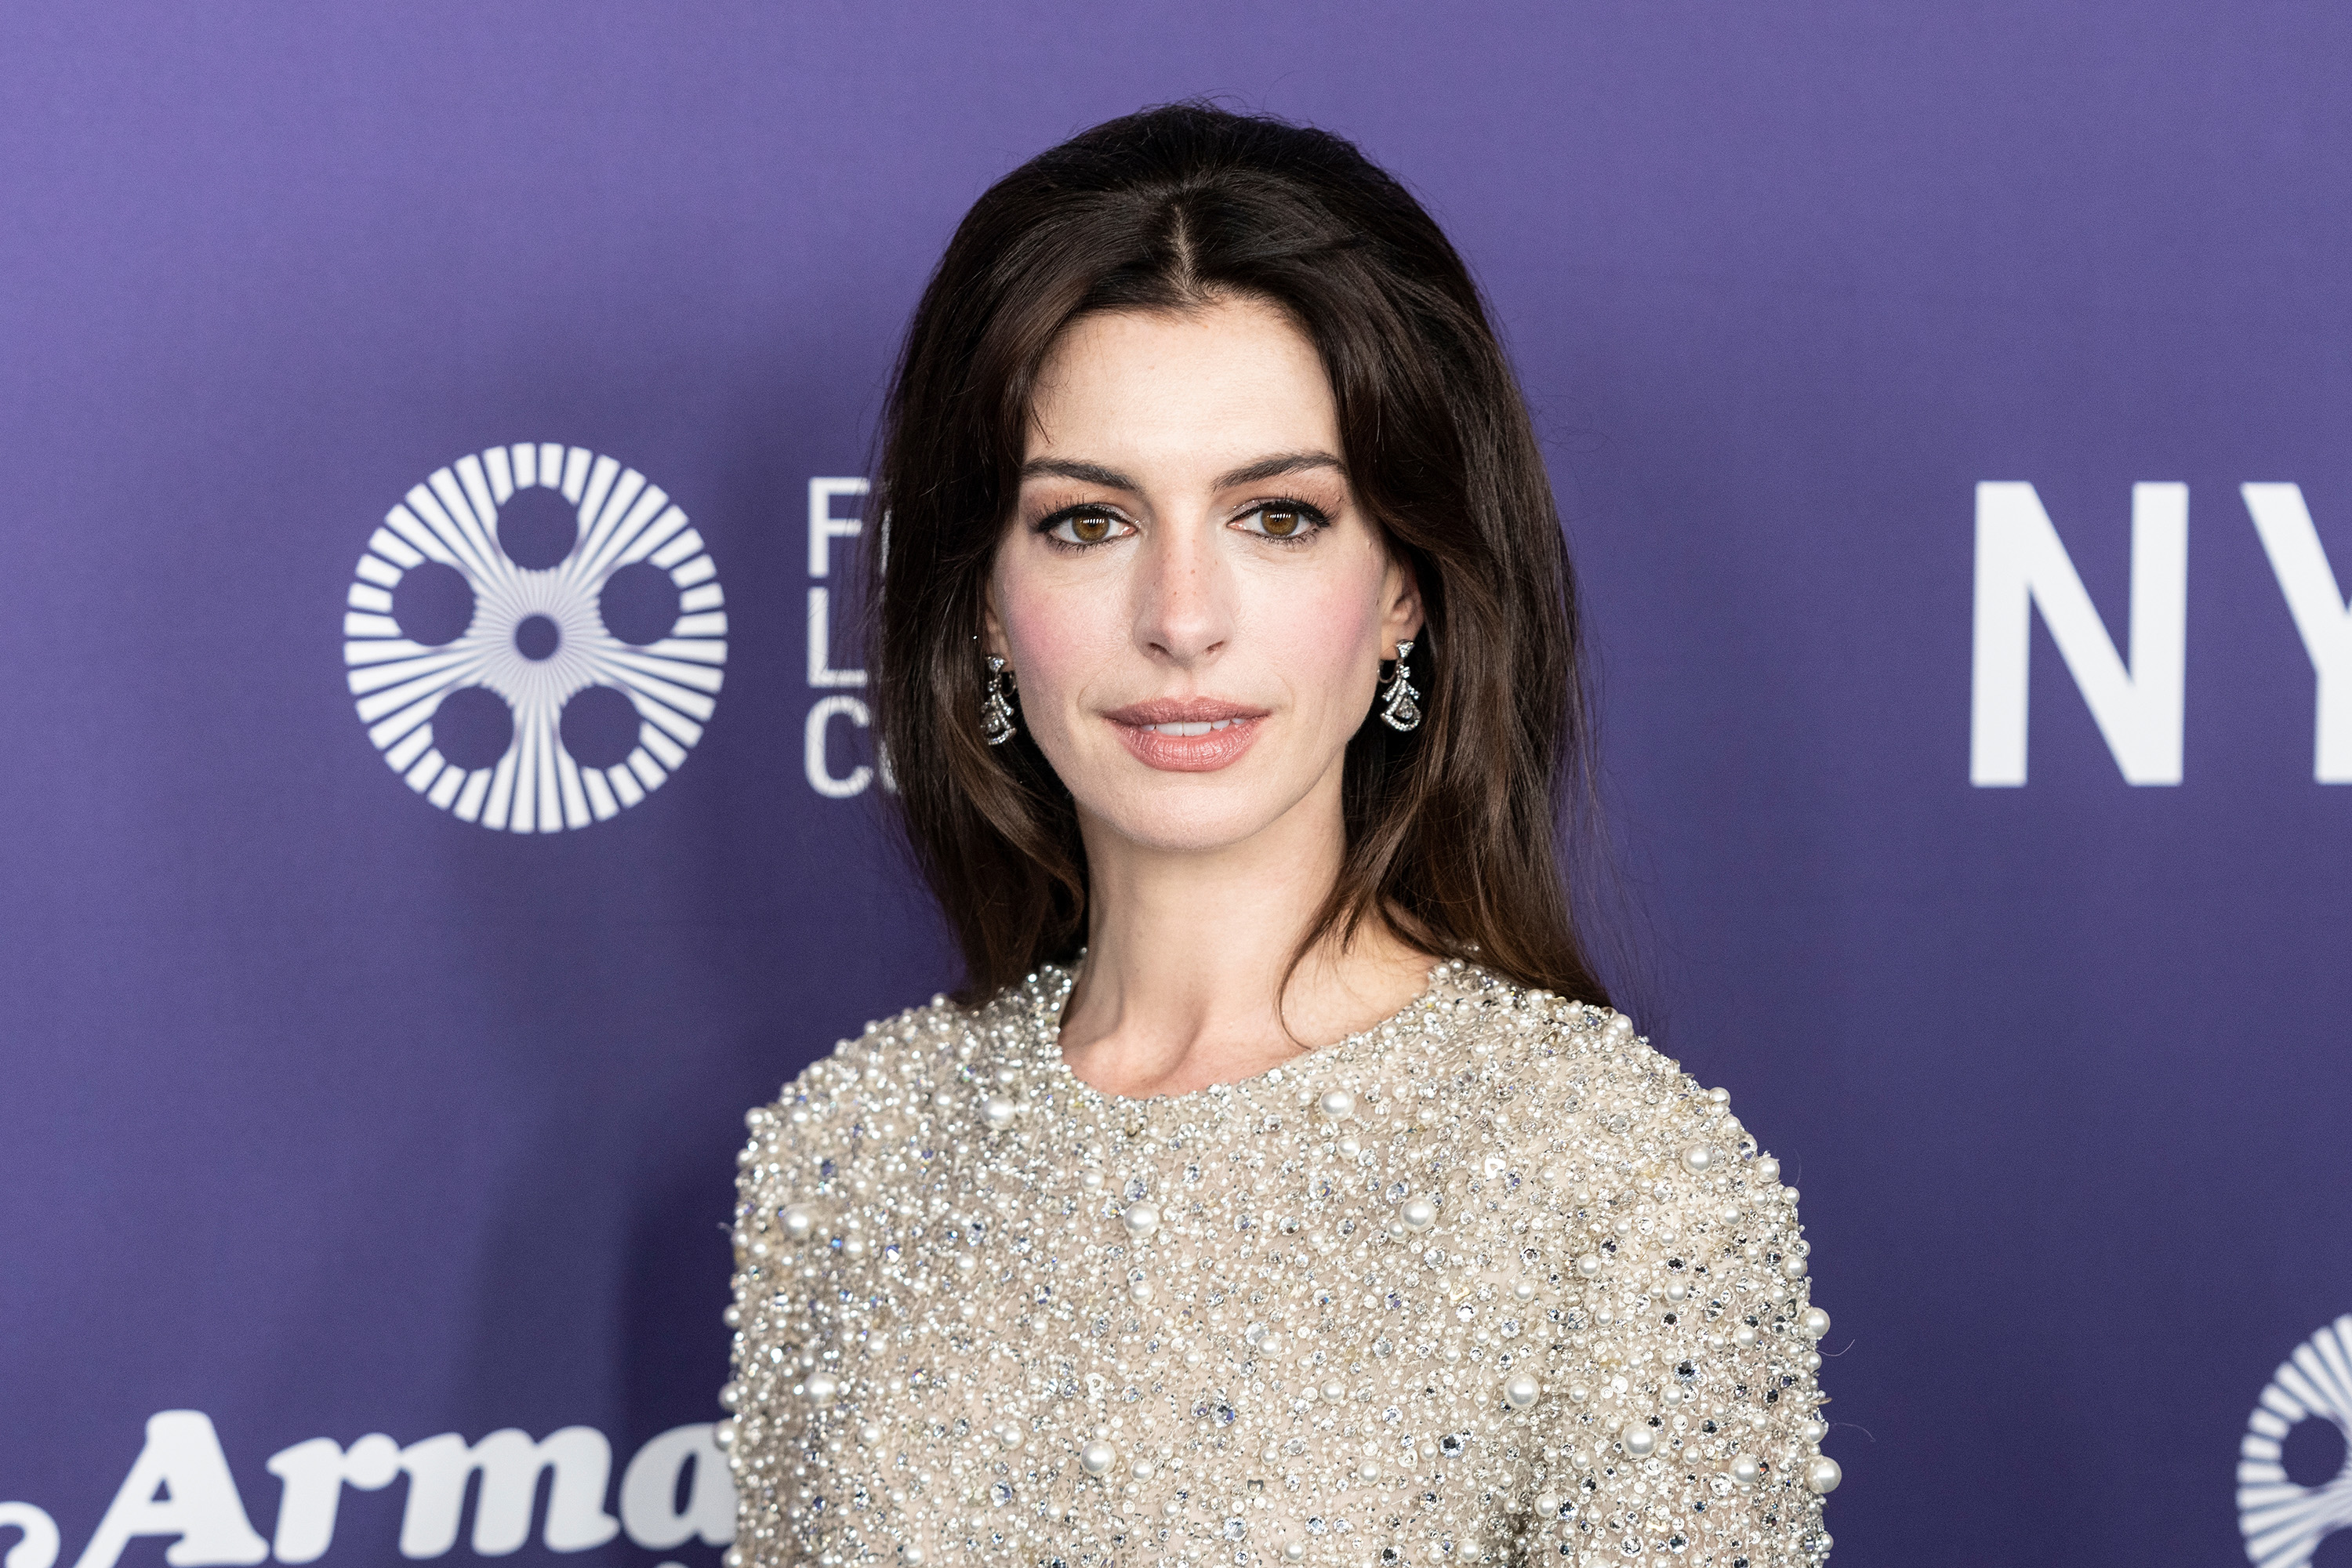
Power Ponytails
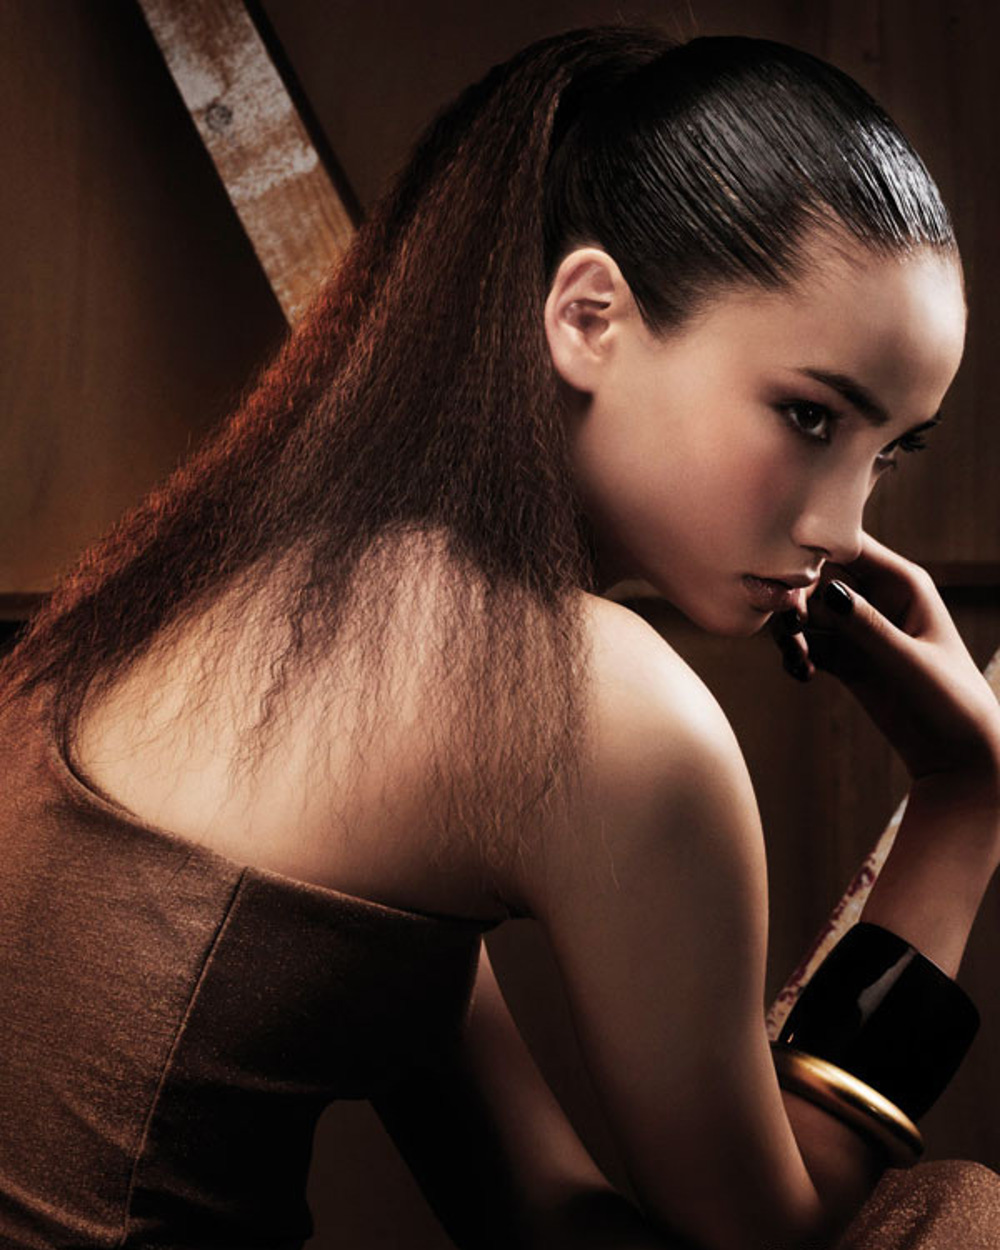
Ponytails never go out of style, and over the past few years we have seen the rise of the super sleek, slicked-back ponytail. To give this style a more modern edge, I love to create strong contrast by pairing smooth, sleek hair going into the ponytail with crimped ends for a super-cool, edgy finish.
The MOOD Defend and Design Lotion is one of my favourite products for slicking the hair back, banishing frizz and flyaways, and providing strong hold so the hair remains smooth going into the ponytail. Once I’ve created the ponytail – working the product in with a brush and securing it at the nape of the neck – I mist through some shine spray for added protection and shine before finishing with hairspray.
After using your crimping iron on the ponytail, avoid brushing through it. Instead, use your fingers to lightly distribute some serum to perfect the crimps without creating frizz.
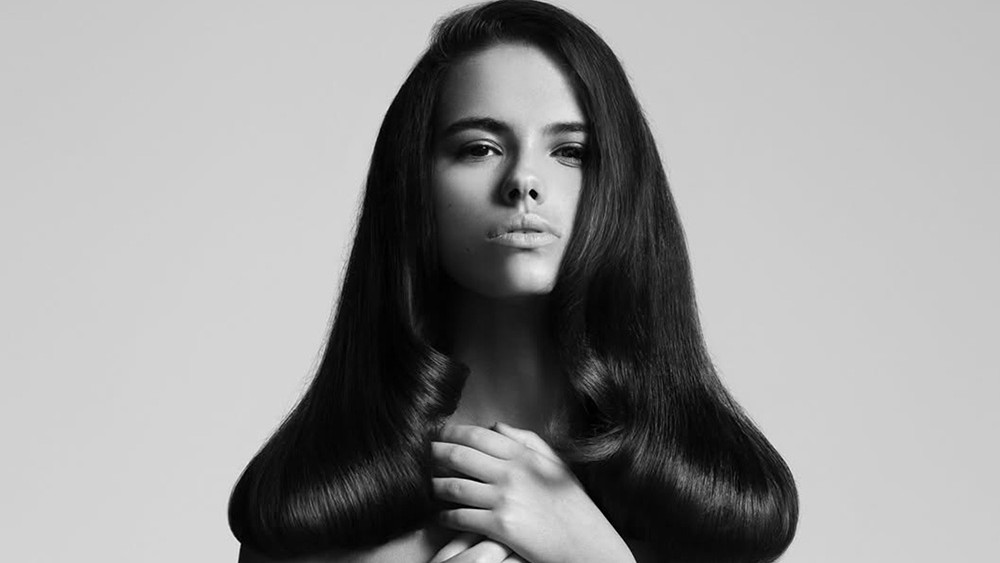
Sleek with Shape

Forget super straight hair without movement. In 2026, straight hair gets an upgrade, looking incredibly smooth and sleek at the top but with soft movement through the ends. This look can be created using heated styling irons to straighten and smooth the hair, adding a gentle bend towards the ends to elevate the style and give it more body
When creating this look, using a heat protection spray beforehand is essential. Once you have finished styling, use a wide-tooth comb to gently brush through the hair for added volume, then finish with some serum to enhance radiance, smoothness, and give the hair a luxurious look and feel.