Get the look: long a-line shape


Learn to cut a variation of a long A-line shape with an easy to follow step-by-step from Stacey Broughton.
The tutorial teaches graduation, over-direction and the importance of finger and body positioning in the placement of the perimeter line, while the inclusion of freehand techniques softens and loosens this contemporary salon friendly shape.

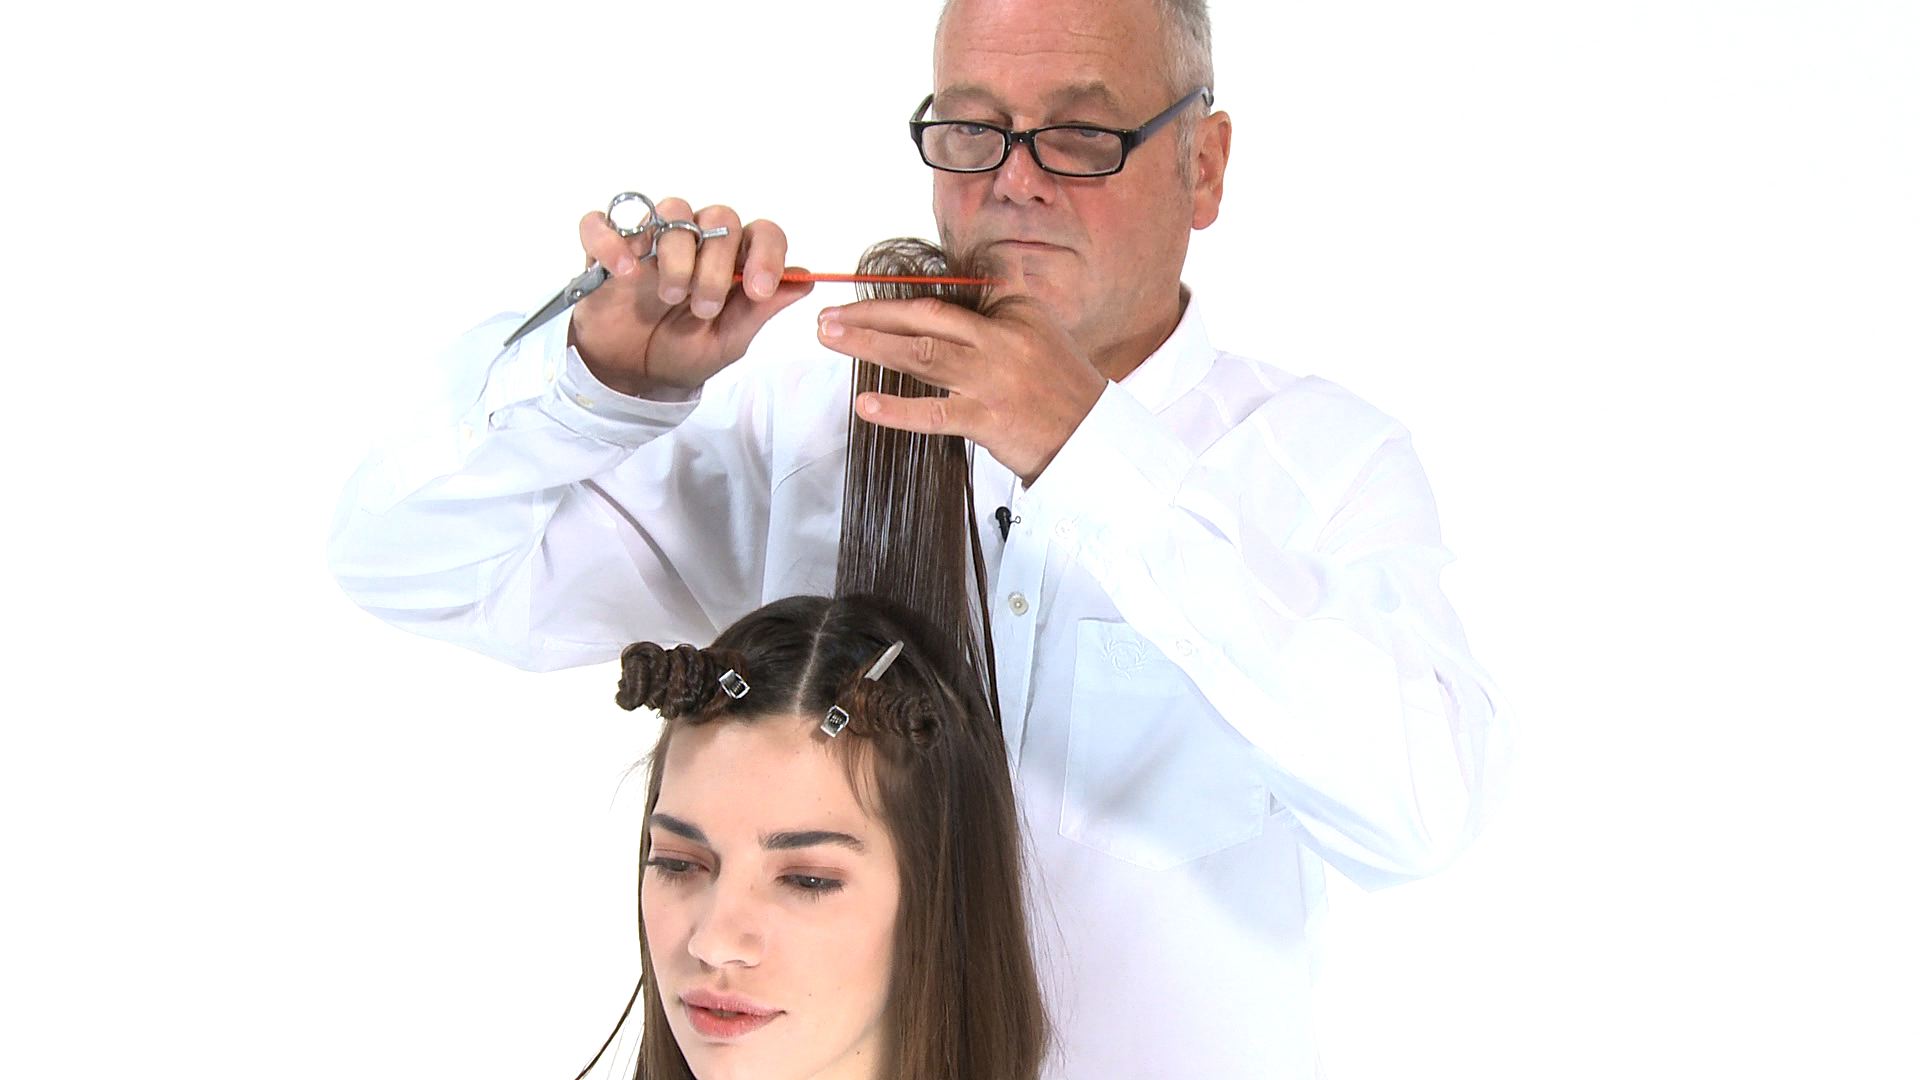
1. Create a section from ear to ear to the point where the head rounds, then take two further oblong sections in the front.


4. Proceed with the right hand side. Comb the section, elevate to 45 degrees and cut a line in your fingers from longer to shorter. Ensure even tension throughout the section. Repeat the same process on the left-hand side ensuring the same elevation and balance.


6. Continue with parallel sections alternating each side, working up the head using the underneath as a guide and increasing the over-direction. Once you reach the parietal ridge visually check then cross check diagonally assessing the internal graduation.

7. Continue working with parallel horizontal sections over the round of the head, leaving out the V-shape. Alternate sides for balance and accuracy.

8. Once you reach the temple area, connect to the back ensuring the angle is maintained. Angle your fingers from shorter to longer to maintain the A-line shape and to create length towards the front. Continue this process to the front hairline on both sides. Cross check diagonally, maintaining the same angle of elevation.

9. Refine the outline using a pointing technique to produce a soft loose perimeter, however the structure on the internal shape must have a strong foundation to achieve this.
10. Take down the V-shaped top section. Take a vertical section from the parting on the left, in line with the ear on the left-hand side. Elevate to 90 degrees and cut using a slicing technique from short - long. The shorter length is very similar to the outline length on the underneath. The longer portion is disconnected. Continue this process to the centre-back. Repeat the same process on the right-hand side. Refine the disconnected over-hanging area with a variety of freehand techniques

www.myhairdressers.com Step by step images: Jamie Harrison Final images: Ross Kirton

